Get Started with Return to Service
Our Return to Service Tools help churches handle registration and check-ins for weekly recurring events, such as services or classes.
- Register ahead of time.
- Pre-register attendees and their family members.
- Stop accepting registrations once capacity is reached.
- Allow visitors to pre-register themselves and their family.
- Check in at the event.
- Host Check-In provides a contactless way for greeters to check in attendees by scanning a QR code.
- Self Check-In gives attendees the ability to check in from their device.
- Walk-in registrations for regular congregants and visitors can be handled using Quick Check-In in Church Tools.
Public access to this feature, including registrations for visitors, is done using Sunergo Connect.
Watch this video to learn how to get started with Return to Service:
Return to Service Settings
Settings are found in the Add New/Edit options for both Ministry Group and Subgroups.
Logon Requirement
| Option | Logon Required | |
|---|---|---|
| Allow your congregation to register themselves into an event | Enable Self Register | Yes |
| Allow visitors to register themselves into an event | Enable Self Register when Not Logged In | No |
| Enable registered attendees to check themselves in | Enable Self Check-In | No |
When Self Register when Not Logged In is enabled, please be aware of the following:
- A new Family and Contact record is created when a registration is made without logging in.
- Since anyone will be able to register for an event without logging in to Connect, including congregants that are already in your Contacts and those who may have a Connect account, a duplicate record may be created.
- We recommend periodically using the Contact Merge Tool to ensure that duplicates are removed.
Hidden Events
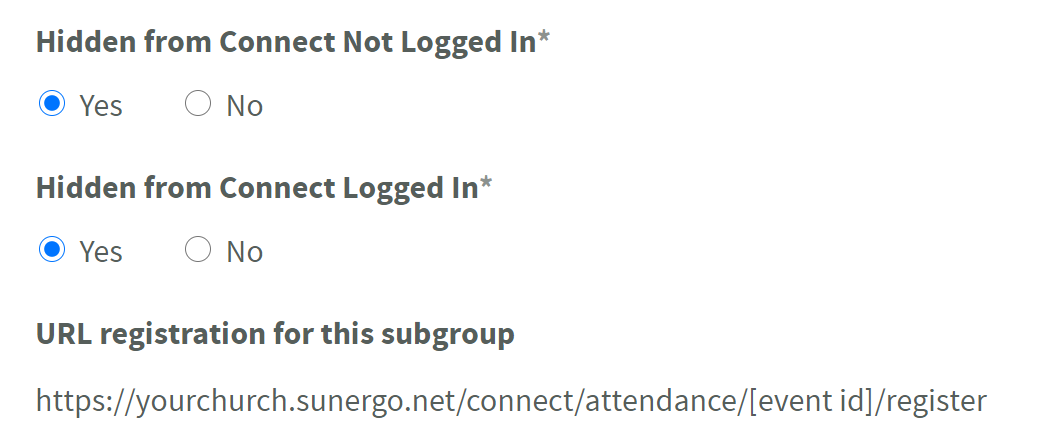
If you want to make an event available to a select group of people, you can set a subgroup to be hidden from the “Available Events” list.
- In Edit Subgroup, set “Hidden from Connect…” to “Yes”. You can hide the event for either or both logged-in and/or non logged-in congregants.
- To begin collecting registrations, share the “URL registration for this subgroup” with those who are allowed to register for the event.
Adding a Waiver
If you have health questions or a waiver that needs to be accepted by the attendee in order to register for an event, we can add the waiver to the registration and check-in process.
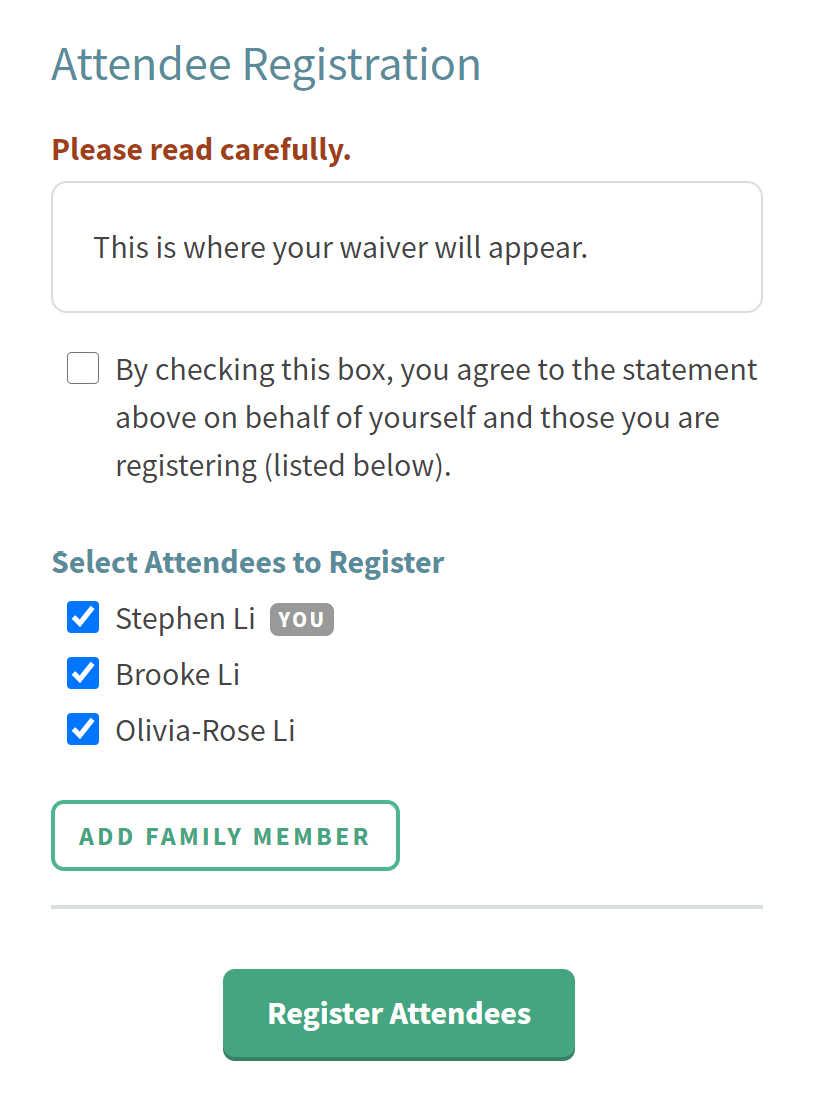
- The checkbox text reads: “By checking this box, you agree to the statement above on behalf of yourself and those you are registering (listed below).”
- Only one checkbox will be added, which means that they must accept the waiver in its entirety.
- If the attendee does not accept the waiver, they will not be allowed to register for the event.
Please contact us to add your waiver. When contacting us, please include the following:
- Waiver text: This can be multiple paragraphs.
- Error message that will appear if an attendee tries to register without accepting the statement.
Step 1: Creating a Ministry Group for the Event
Set up for Return to Service is done through Church Tools (Church Information Management System).
Return to Service uses Ministry Groups and Subgroups to track who is registered and who attends the event each week. Each Ministry Group as the category of the event (ie. Worship Services).
If you are using the Self Check-In feature, we recommend creating a new Ministry Group for your events. Emails that handle Self Check-In are only sent when someone registers for an event through Self Registration.
- Create a new Ministry Group by selecting Add Ministry Group in Ministry Groups.
- In the Connect Options section:
- Set “Show subgroups that members are not a part of?” to No.
- Make the necessary changes in the Return to Service Settings section.
- Setting any of these options to No will override the setting for each Subgroup.
- See the Return to Service Settings section for an explanation of these options.
- Select Save to finish creating the Ministry Group.
Step 2: Creating a Subgroup for each Event Time
There are two ways to set up the Subgroups. You can change between the two at anytime.
Option A: Recurring Event Time
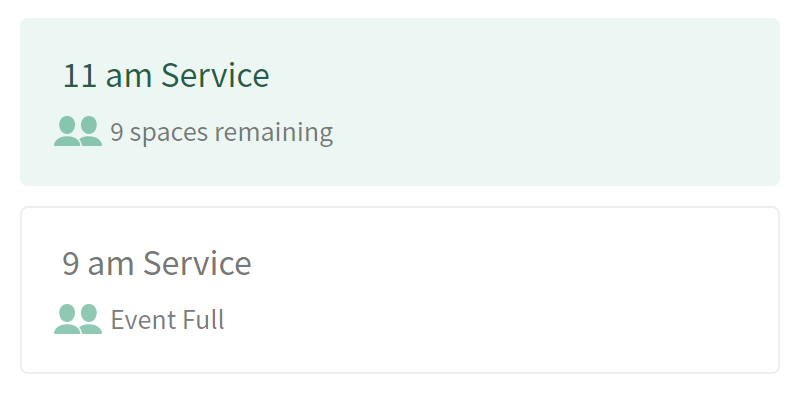
Each Subgroup is a recurring event time (ie. “9am Service” and “11am Service”).
- Attendees will only receive a check-in email when they register. No emails will be sent for subsequent occurrences.
- Attendees will register once and stay registered for subsequent occurrences.
- If a capacity is set, you will need to keep track and remove attendees who don’t check-in in order to allow for other attendees to register.
Option B: Single Event Date/Time
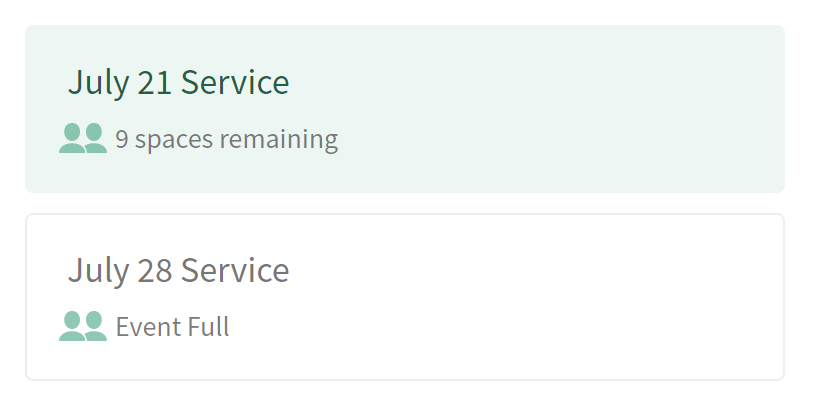
Each Subgroup is a single event date/time (ie. “July 16 9am Service”).
- A Subgroup will need to be created for every occurrence. (Subgroups can be manually set Inactive after the event date.)
- Attendees will need to register every week.
- Attendees will receive a check-in email for every date/time they register for.
For either methods, the steps to create the Subgroup are the same:
- In the Subgroups section, select Add Subgroup.
- Set “Is Active for Registration, Attendance, and Check-In” to Yes.
- Set “Print Labels on Quick Check-In” to No.
- If there is a capacity limit for this event time, enter it in “Member Limit”.
- In the Connect section, set “Enable Connect for this Subgroup” to No.
- You may want to enable this later to provide updates and resources for your attendees.
- Make the necessary changes in the Return to Service Settings section.
- Select Save to finish creating the Ministry Subgroup.
Step 3: Invite your congregation to use Connect
The simplest way to have your congregation register for an event is to provide a Congregant Logon to everyone in your Contacts. You may set up a Congregant Logon for each contact manually, or use the Create Congregant Logon tool to create a logon for multiple people.
We recommend setting up at least one member of each family with a Congregant Logon. That family member will be able to register and check in both themselves and their entire family using their Congregant Logon.
Only HOH (Head of Household) Contacts will be able to check in their entire family.
Next Step
Couldn't solve the problem?
Monday – Friday
8:00am to 4:30pm (Pacific Time)
(Closed Statutory Holidays)