Streaming with Facebook Live
Streaming with Facebook Live is a quick and simple way to share your service and enable online interaction with your congregation.
Viewers do not need a Facebook account to view your stream. Plus, Sunergo Websites supports Facebook Live embedding so that your congregation can watch the stream from your website.
Facebook Live viewing is limited to watching from a website or within the Facebook app. If you would like to give your congregation the ability to watch from Apple TV, Chromecast, and more, we recommend using YouTube.
Setting up your live stream
You will need a Facebook account to begin. We recommend creating a Facebook Page for your church to stream from.
Using a phone
The quickest way to live stream is through the Facebook app on your phone. Please note that this option may limit the functionality that will be available on through live stream using a webcam or video camera.
- From your Facebook page, tap the “Post” button.
- Tap “Go Live” in the bottom list of options.
- Add a description for your live stream.
- Turn your phone sideways (horizontally). This will make it easier for your viewers to watch.
- Tap the blue “Start Live Video / the Video Camera with Eye icon” button when you are ready to stream.
Using a webcam or video camera
Streaming with a webcam or video camera provides you with more functionality.
If you are looking to invest in a higher-end solution, video professionals we have talked to recommend the Mevo Plus.
- From your Facebook page, in the Create panel, click the “Live” button.
- A menu will appear with options for Camera and Connect.
- If using a webcam, connect your webcam and wait for the page to find the webcam.
- If using an external camera, follow the instructions on that page to connect your camera.
- Follow the instructions in the sidebar to set up your live stream.
- When you are ready, click the “Go Live” button.
Adding the video to your website
Once your live stream is running, you will be able to add the video to your website.
Step 1: Get the video feed from Facebook
Once your stream is live, log in to Facebook from your laptop or desktop computer.
- Go to your Facebook page and check that the feed shows up in the news feed.
- Click on the video. You should see the main video playing, along with a sidebar containing the video description and comments.
- In the sidebar, click on the “•••” menu and click “Embed”.
- In the window that appears, follow the instructions to copy the code.
Step 2: Embed the video feed to your website
- Log in to your website builder back office.
- From the Sitemap, create a new Basic Content Page, or select an existing page, that will be where you place the video feed.
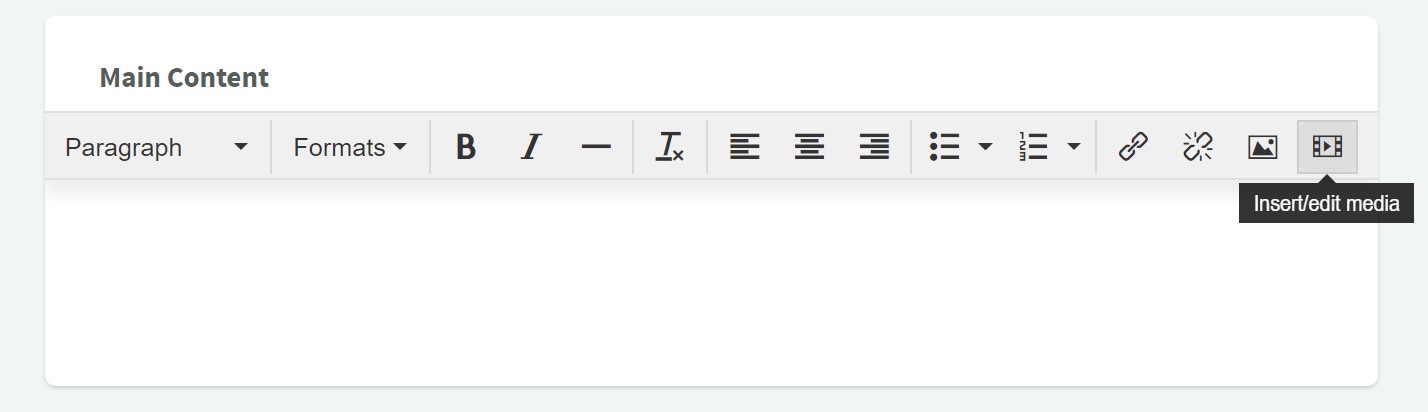
- In the editor, select the “Insert/edit media” button.
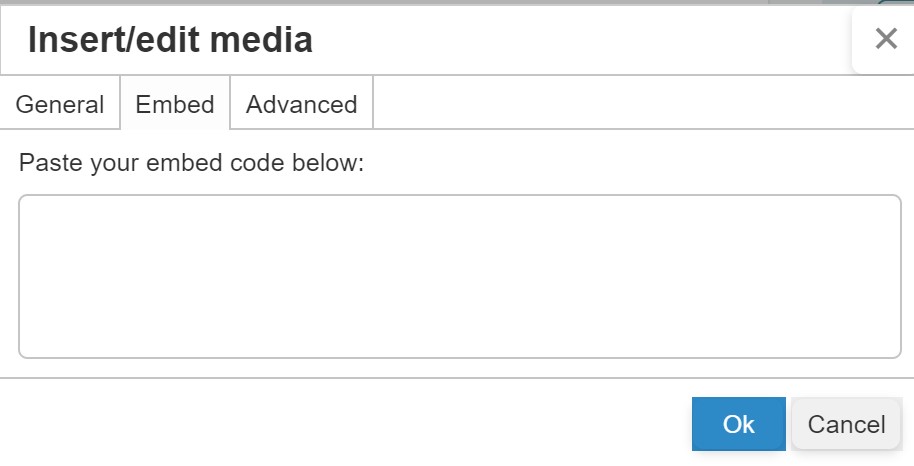 In the panel that appears, switch to the Embed tab and paste the code that you copied from Step 1. Click “Ok”.
- Complete the other settings that are needed for your page to appear (ie. page banner, other content on the page, etc.)
- Once ready, set the page status to “Published” and select “Save Page”.
The page should now be live and your Facebook Live video should now appear on the page.
If you save the video after the live stream has ended, the video will remain on your website.
Troubleshooting issues with live streaming
If you are not able to see the video in your browser, try these steps:
- Turn off your adblocker, if you have one.
- Try another browser (e.g. Chrome, Firefox, etc.).
- Watch directly from Facebook.
Related Articles
Couldn't solve the problem?
Monday – Friday
8:00am to 4:30pm (Pacific Time)
(Closed Statutory Holidays)