E-Receipts
E-Receipts reduce cost and effort in distributing donation receipts, and works alongside the current method of printing and sending physical receipts.
Before asking Sunergo to activate the new electronic receipting feature on your Church Information Management System, please take a moment to ensure the validity of the emails of congregant members who would like to receive electronic receipts.
Preview the subject and content of the receipt email by going to View Sample Email in the Giving > Receipt Menu.
Setting Up Contacts to Receive Electronic Receipts
Controlling whether or not a contact receives their donation receipt through email happens on an individual basis. To receive a PDF receipt, the contact must have a valid email saved in the system and their preferred receipt type must be marked as Electronic.
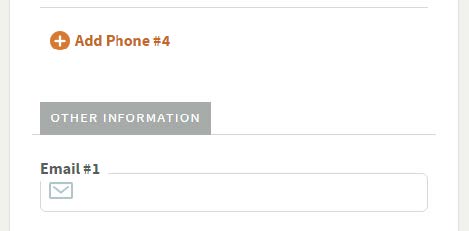
Verify that the Email for a personal record or Email #1 for an Organization is correct.
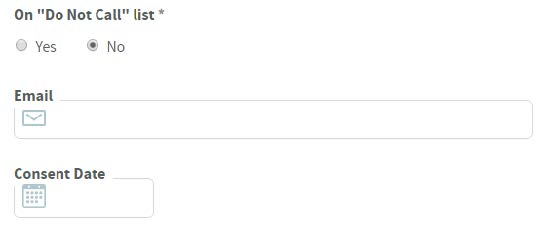
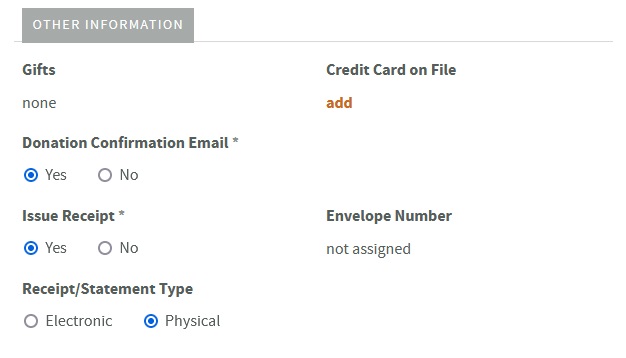
Select “Electronic” as the Receipt Type. If this field is disabled, there is no email saved for the contact. To switch back to a printed receipt, select “Physical”.
Creating a One-Time Electronic Receipt
Once an e-receipt batch starts, the contents of the email and donation receipts (including the signature and name/title of signatory) cannot be changed.
Before sending receipts, please double check the subject and content of the receipt email by going to View Sample Email in the Giving > Receipt menu. Also double check View Sample Receipt in the Receipt menu to ensure the donation receipt content is up to date.
-
In the Giving > Receipt Menu, go to Create One Time Receipts.
-
When searching for a specific gift or receipt, there is now the option to search by Receipt Type. Click Search to return a list of all relevant gifts.
-
If the gift has already been receipted, the Generate Receipt link will display the receipt instead of creating a new one. Otherwise, the link will say Create.
-
If the contact associated with the selected gift has an email saved and has Electronic selected as their Receipt Type, a Create Electronic Receipt button will appear next to the Create Paper Receipt button. The Create Paper Receipt button will appear for all one-time receipts.
The receipt will be added to an email queue and the progress and success of this receipt can be monitored from the View E-Receipt Progress page from the View Issued Receipts option in the Receipts Menu.
According to the CRA Computer-generated Receipts, it says that “copies of email-issued receipts must be retained by the charity”. Therefore, you may also want to print and keep a physical copy of this receipt.
Creating an Annual Batch of Electronic Receipts
Once an e-receipt batch starts, the contents of the email and donation receipts (including the signature and name/title of signatory) cannot be changed.
Before sending receipts, please double check the subject and content of the receipt email by going to View Sample Email in the Giving > Receipt menu. Also double check View Sample Receipt in the Receipt menu to ensure the donation receipt content is up to date.
-
In the Giving > Receipt Menu, go to Create Annual Receipts.
-
After selecting the Date Range and Minimum Donor Giving Total, a list of names and receipt amounts to be generated for each receipt type.
- If there are no receipts to be generated, it is likely because receipts have already been created for the date range. Since gifts can only be receipted once, the user should look through previously generated receipts.
-
Pressing the Continue button in the electronic receipts found table will proceed to generate only the amounts listed in that table, and the same will occur for the physical receipts found a table.
-
If are any batches that are not yet posted, it will display a list of those batches. If the gifts in those open batches should be included in the receipts, first post the open batches (open the Batch Name links in a new tab/window) then start over at Step 1. When this step is submitted, the receipts will be created.
-
On this page, the number of receipts that have been created will be shown, along with instructions on printing, and an option of how many receipts to view per page. The receipts will be added to an email queue and the progress and success of these receipts can be monitored from the View E-Receipt Progress page from the Giving > Receipts > View Issued Receipts menu.
According to the CRA Computer-generated Receipts, it says that “copies of email-issued receipts must be retained by the charity”. Therefore, you may also want to print and keep a physical copy of this receipt.
Frequently Asked Questions
Have a question about e-receipting? This video may have the answer you are looking for:
Verify and Monitor Delivery and Download Status
Because of the sensitivity of donation receipt information, it is important to verify the donor has received the email. We provide 2 checks for this purpose: the email has been sent successfully, the receipt has been downloaded.
-
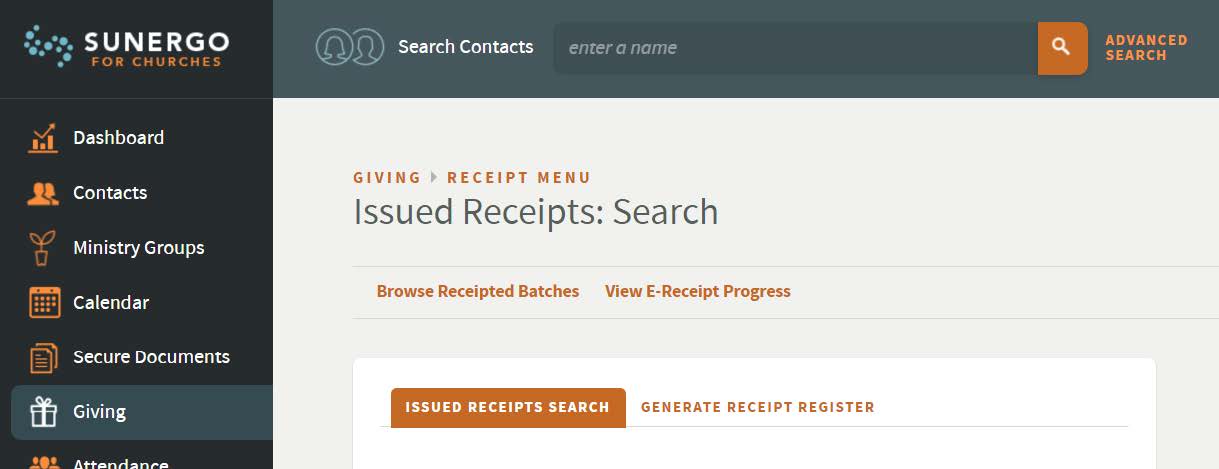
In the Giving > Receipt Menu, go to View Issued Receipts.
-
In the quick links section under the title of the page, select “View E-Receipt Progress”.
-
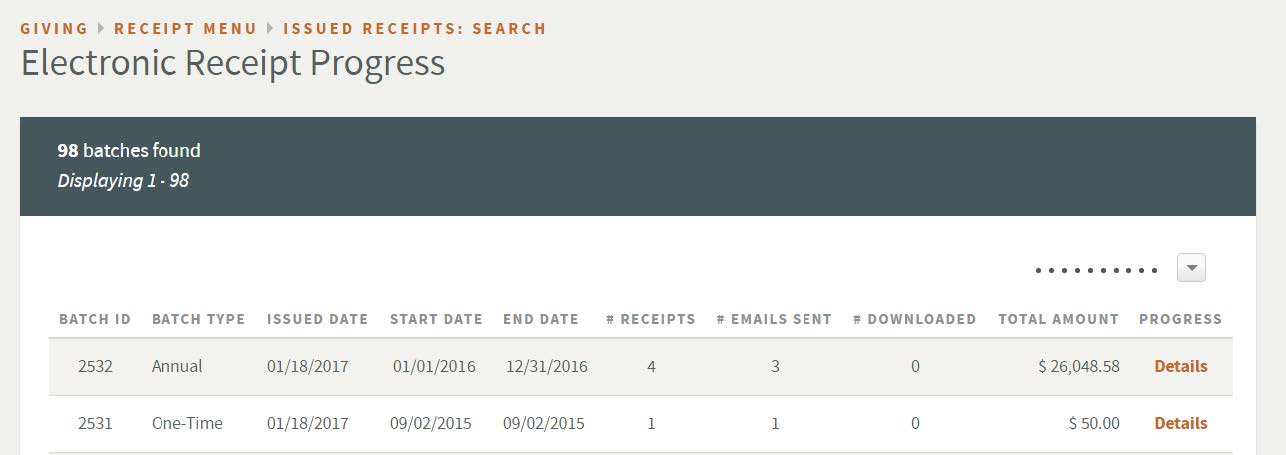
On the Electronic Receipt Progress, all generated electronic receipts are presented.
- Find the receipt batch you are looking for by looking at the Batch ID, Batch Type, and Issued Date.
- All records are sorted with the most recently issued batch on top.
- When you have found the intended batch, select Details to view more specific progress information for the receipts in that batch.
- If all receipts in the batch have been cancelled, you will not be able to view the progress.
- If all receipts in the batch have been emailed and downloaded at least once, the progress link will say Complete.
-
An electronic receipt is successful when the Email Status says Sent and there is at least one download. The Email Status column will also indicate if the email has not yet been sent (Pending), Cancelled, or if Delivery Failed.
- For each receipt, there are 2 options: View and Cancel.
- The View link will open the receipt in a new window. This action will be logged.
- Pressing the “Cancel” link will change the receipt to display CANCELLED in red letters on the receipt and this will also appear on any downloaded copies after the receipt has been cancelled.
- The email to which the receipt was sent to can be seen under the donor’s name in the Issued To column.
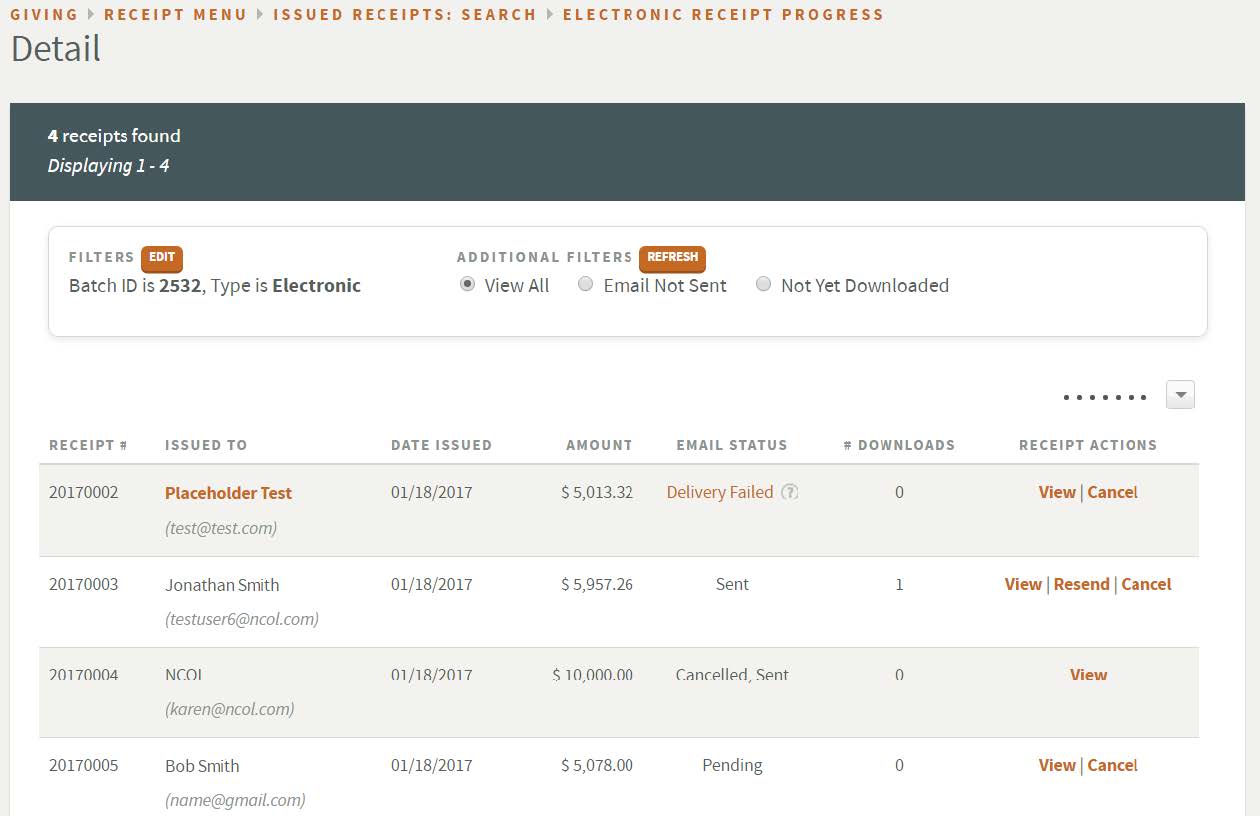
If an email failed to send, the Email Status will show “Delivery Failed”. To see the reason for why the email failed to send and what steps you can take next, hover over the Delivery Failed link. The name of the person the receipt was Issued To will become a link to the person’s contact record for easy access to verifying or changing their email.
Printing, Cancelling, and Re-sending
Using the View Issued Receipts tool in the Giving > Receipt menu, previously generated receipts may be printed or cancelled. For electronic receipting purposes, this can be especially useful if an email address needs to be changed, or if a paper version of an electronic receipt needs to be generated instead.
There are three ways to search for a previously generated receipt:
- Issued Receipts Search: This search method is most effective for finding a specific receipt if you know information such as Receipt Number, Envelope Number, Amount, Date Issued, Donor Name, or Receipt Type. Pressing Search will display all generated receipts that match the search criteria. The Type column will indicate whether the receipt is Paper or Electronic.
- Browse Receipted Batches: This search method is most effective for finding or printing entire batches of receipts. You may choose to view or print the entire batch of receipts, or click on the Details link to view the individual receipts in the selected batch. When viewing details, there is now a column named Type which will indicate whether the receipt is Paper or Electronic.
- View E-Receipt Progress: This method allows you to monitor the status of every electronic receipt sent. More detail into navigating and monitoring information from this section is covered in the Verify and Monitor Delivery and Download Status Section.
Printing
All Electronic Receipts should be printed after creating them for internal record-keeping, but additional copies can also be made after generation.
After finding the intended electronic receipt, both the View or Print link (depending on which method was used to find the record) will open the receipt in a new tab. This copy can be printed and handed to the donor if necessary.
The best way to convert an electronic receipt into a paper receipt would be to first cancel the receipt then find the same record in the Create a One-Time Receipt tool and choose “Create a Physical receipt”.
Cancelling
After finding the intended electronic receipt, view the receipt to verify that it is the correct receipt to cancel. Once verified, select cancel.
The system will prompt the user to confirm that the receipt is to be cancelled. Once OK has been selected, it cannot be undone.
The system will change the receipt to display CANCELLED on top in red letters. This also affects download links already sent to contacts, so when they download the receipt after it has been cancelled it will view as cancelled.
Re-Sending
If a contact has not received an email and the system has marked the record as Sent, search for the record using the View E-Receipt Progress method. Selecting the Resend button will re-queue the email for sending.
If the email was incorrect initially, updating the contact record and then clicking resend will resend the email to the new address.
Related Articles
Couldn't solve the problem?
Monday – Friday
8:00am to 4:30pm (Pacific Time)
(Closed Statutory Holidays)